Wednesday, June 1, 2011

May–Delta & Destro


May.  This was not a very productive month.  As far as getting Delta any closer to completion anyway.  For other projects, it was a very good month.  I began work on my version 2 of Destro’s mask, and upgraded my vacuum forming table…already.

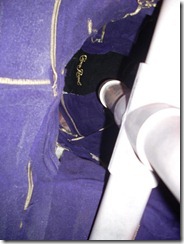
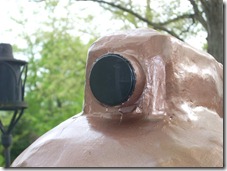
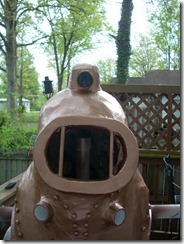
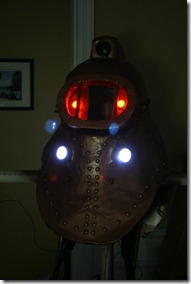
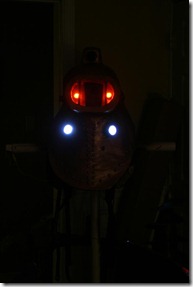
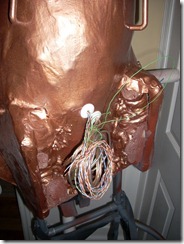
For Delta, all that I got done was just cleaning up the wiring, lining the inside of the helmet with old Crown Royal bags, and getting the back pack started.  I have to say, that I think it actually looks pretty cool with all the bags in there.  It looks much better than just the raw foam that was visible.Subject Delta Helmet - 107Subject Delta Helmet - 109
This does serve four purposes.
1) It helps to seal down some of the Mache from pealing lose.
2) It covers the foam skeleton on the inside.
3) It allowed me to conceal and secure the wiring for the lights and fans.
4) It gets rid of a lot of Crown Royal bags.

I did route the wiring out the back and it will be concealed with the back pack.

Subject Delta Helmet - 108

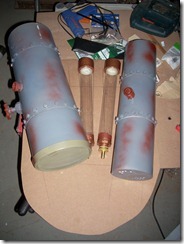
The back pack is really just a board that the tanks will mount to, and the board will mount to the frame on the helmet.  I will likely permanently mount the board to the helmet, but the tanks will be removable for transport and storage.

Tanks on board

I need to trim this a lot shorter too, but I like the layout.

Well, big daddy Delta is not going to be the only costume that goes to Atlanta…hopefully.  I am also working on an updated version of my Destro costume from last year.

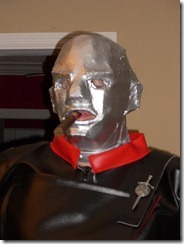
Destro with a Cigar

While I absolutely love this costume, I did run short on time and had to leave a few things in a state of half baked.  Mainly the back of the mask being made from vinyl and kept closed with Velcro.  With everything I learned from it, I am well under way with a version 2.

Back in March, I decided to try my hand at making a vacuum forming table.  The basic idea is you take a positive mold or sculpt, heat a piece of plastic until it is just about to melt, put it over the mold, and use a vacuum to suck all the air out and form the plastic around the mold. 

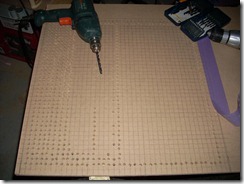
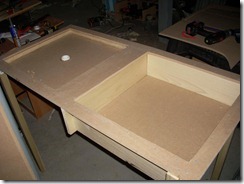
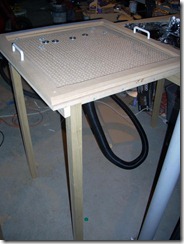
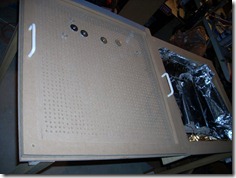
The table itself was easy enough to build, except for marking and drill over 1500 1/4” holes.  I went with a side by side version instead of the top down version.  My idea was that heat rises, so a heat source under the plastic would work best.

LotsaholesVacuum TableDSCN0169

I did line the heat side with WonderBoard, just forgot to get a picture.

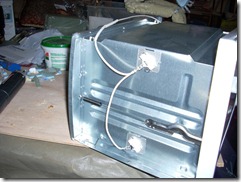
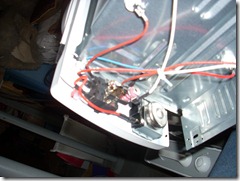
I went with a toaster over as my heat source.  The one I picked up had two burners.

Poor Little Toaster OverWires

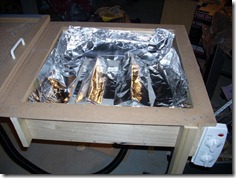
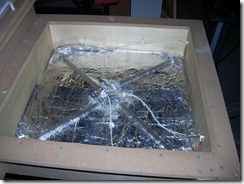
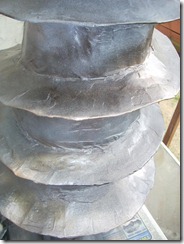
This lead to some heating issues.  Hot spots.  Uneven heating. Not enough heat.  All that lead to some rather interesting foil attempts at a solution.

Version 1 - Ghetto Mod 2Version 1 - Ghetto Mod

I had to eventually break down and get a second toaster over.  I looked at other options, but this was the cheapest and all I could afford.  Maybe one day there will be a version 3 with a more professional heat source, or at least a bigger toaster oven.

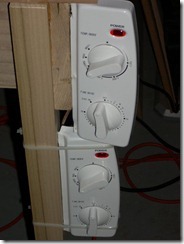
Version 2 - UpgradeVersion Two - Twin Controls

I could have likely run all 4 elements off just one controller, but I thought why try to increase my risks for a fire more than I already am.

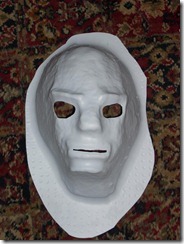
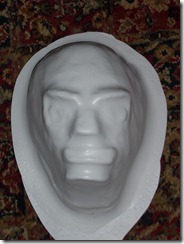
With that all done and working, I took my original mask and made a vacuum mold of it.  I want to use it as a base for a sculpt and since it is already the right size and a great starting point, why not.

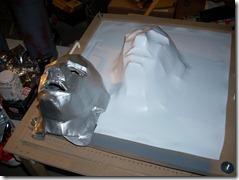
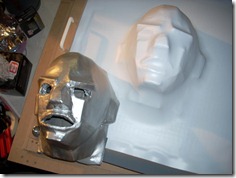
Destro - V1 Mold PullDestro - V1 Mold Pull 2

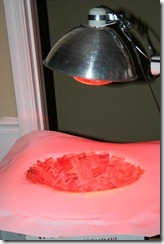
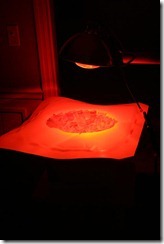
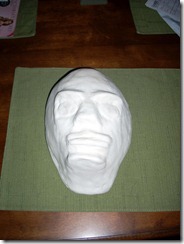
Next, I filled the new plastic mold with a fun little compound Melinda and I came up with of newspapers and water run through the blender and then glue and flour added.  I baked this for quite a while under a heat lamp and outside before I felt brave enough to remove it.

Destro - V2 Positive 2                                Destro - V2 Positive

I didn’t get any pictures of the final product, but it is working out great as a base.  I did try to do just a quick vacuum pull of just it with a few changes made by adding clay, and well, anywhere air could pull through, it did and caused the plastic to form around it. I ended up with a lumpy mask.

Destro - V2 NonClay Pull

I then just went and built up the rest of the features, evened out a few areas and gave the whole thing a coat with air dry clay to get a good solid working positive.

Destro - V2 Clay Sculpt                       Destro - V2 Clay Sculpt 2

I marked the eye areas with raised bits so I would know better where to cut for the eye holes later.

The pull from the clay piece turned out really well and I am on my way to a good Destro V2 mask.

Destro - V2 Clay Pull

This is only the front, but I will use it to build the back and will sculpt ear molds separately and put it all together.  My plan is to use rare earth magnets to hold the front and back together.  I guess that this will add the effect of also scrambling the CIA brainwave scanners as well.
Saturday, May 14, 2011

Bioshock Plasmid Ball


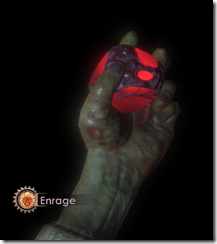
In the game Bioshock, you can certain abilities with plasmids.  These can be abilities like throwing fire, electricity, ice, bees, or in some cases a little ball that will hypnotize enemies or even summon Eleanor to help you out of a jam.

Enrage.

As a part of the Subject Delta costume, I decided to make a plasmid ball.  Special thanks to Kaliza over at Cosplay.com for giving me the idea to make one of these.
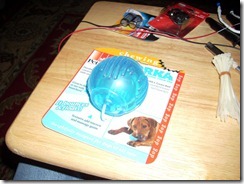
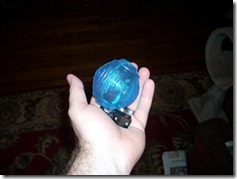
I started out with a dog chew toy.
Plasmid Ball 1

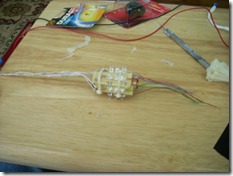
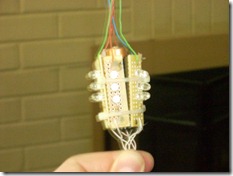
I cut it in half to open it to get the guts in there.  I had a bunch of red LEDs from a failed method to light Subject Delta, so I decided to recycle them into the blue chew toy in the hopes that it would come out more purple for the Summon Eleanor plasmid.

The LEDs were already wired for a 6 volt power supply.  I found two camera batteries that were 3 volts each.  Stacked together and then wrapped with the LEDs.

Plasmid LEDs 1Plasmid LEDs 2

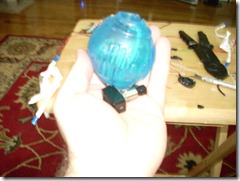
I then wired in a switch so I could turn them on and off as needed and stuffed it all back into the chew toy.  Unfortunately, the switch would not fit in the chew toy, but I can hide it by palming it.

Finished Plasmid 1Finished Plasmid 2

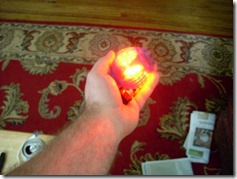
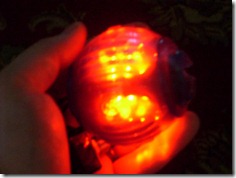
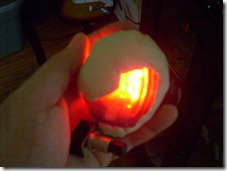
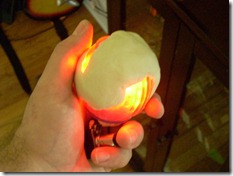
Plasmid LitPlasmid Lit 2

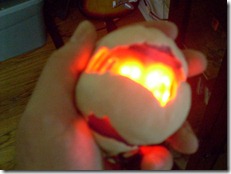
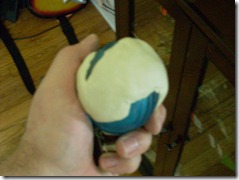
Finally I used some Crayola Air Dry Clay to build up the texture around the plasmid and seal the holes and cut.

Working Plasmid 1Working Plasmid 2


Working Plasmid 3Working Plasmid 4

Once the clay dries in a few days, I’ll go back and paint it.

As you can see, the light is still very red.  This looks more like the Enrage Plasmid than the Summon Eleanor, and I’m fine with that.

Not bad for about 2 hours worth of work, even if I say so myself.

Wednesday, April 27, 2011

Subject Delta April Update


As of now, Subject Delta is approximately 90% complete.

When we last saw the helmet it looked like this:

Subject Delta Helmet - 88

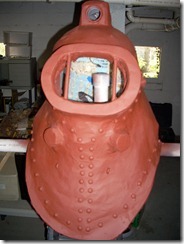
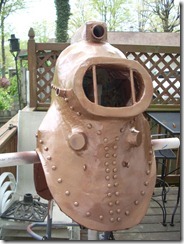
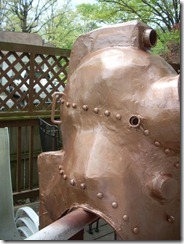
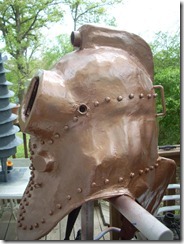
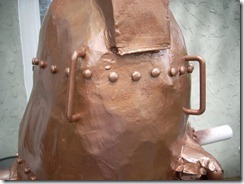
I found a “Hammered Copper” spray paint at Home Depot, and while the hammered effect didn’t come through too well, the color is about as close as it is ever going to get.  Besides, the roughness of the surface makes up for the paint effect.

Subject Delta Helmet - 92                             Subject Delta Helmet - 93

Subject Delta Helmet - 94              Subject Delta Helmet - 95

Subject Delta Helmet - 96              Subject Delta Helmet - 99

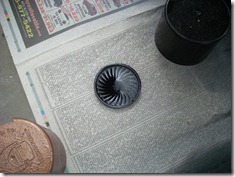
It was finally time to attach the camera lens on the top of the helmet.  Simple plastic circle with the inside painted flat black.

Subject Delta Helmet - 101 - Lens      Subject Delta Helmet - 103

Subject Delta Helmet - 104

All that is really left is a few sealing coats of clear coat, and the paint is all done, and really, that is almost optional.
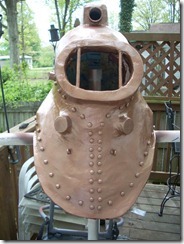
Now, the lights for the helmet have been a painful process.  I ordered a ton of red and yellow LEDs with the intention of wiring them up and having a switch to flip between calm Delta yellow and angry Delta red.  Well, that didn’t work out at all.  The yellow LEDs I ordered were the brightest true yellow LEDs I could find, but their viewing angle was so low, they just didn’t work.  The red were OK, but still not completely bright enough.  I’ve ended up, for now, doing what I should’ve done from the start, go to the auto parts store, find a super bright LED replacement bulb and use that.  They are not true yellow, closer to amber.  And when I add them into the helmet, they actually go from amber to orange.  Really orange.  So, I’m working that out, but if I have to keep it, so be it.  I may put a giant Power T in the middle of the faceplate and be the UT Big Orange Subject Delta (UT football does kickoff during Dragon*Con, so it works).
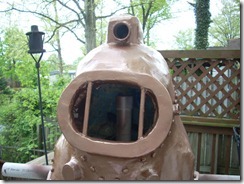
 

Subject Delta Helmet - 105                         Subject Delta Helmet - 106

Just need to secure all the wiring and line the inside and the helmet is now done.

The drill got stuck sitting around at the waiting to be sanded stage, because I was simply sick of sanding that thing.  It is fragile and a pain to sand, but it had to be done.

Subject Delta - Drill Arm - 45

Once the sanding was done, I did find some weak spots, so there will be one last coat of resin and that is it.  I’m really concerned about making this thing too heavy.  I did decide to paint it and will resin over the paint.  If the resin ruins the paint job, no big deal, just repaint, but I hope it will seal the paint in.

Subject Delta - Drill Arm - 49              Subject Delta - Drill Arm - 53

Primed and ready.


Subject Delta - Drill Arm - 54                             Subject Delta - Drill Arm - 55

Subject Delta - Drill Arm - 57                             Subject Delta - Drill Arm - 60

The final paint is a mix of about 4 different paints.

With all that done and waiting on weather, I started on some of the smaller detail pieces.  First up, the boots.

DSCN0197

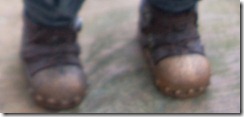
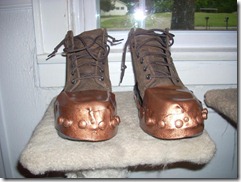
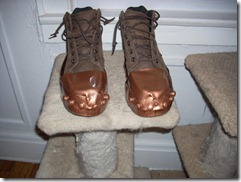
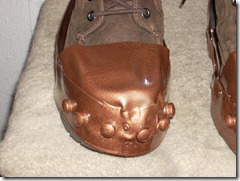
I know the picture is a little blurry, but they are basic brown leather boots with copper weighted covers strapped to them.

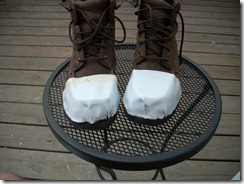
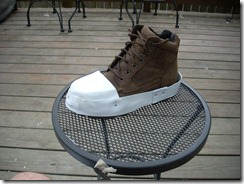
Since I’ve been trying to get a vacuum forming table working, I had some HIPS(high impact polystyrene) sheets lying around.  Boots + HIPS + heat gun = molded boot covers


Subject Delta Boots - Toe Covers

Toe covers

Subject Delta Boots - Toe and Side

Side straps

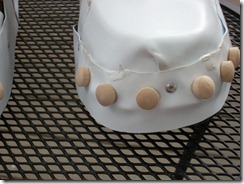
Subject Delta Boots - Rivets

More wooden plugs for rivets.

Subject Delta Boots - Final - Prepaint

Prepaint

Subject Delta Boots - Final 2Subject Delta Boots - Left

Subject Delta Boots - FinalSubject Delta Boots - Right

Final with paint

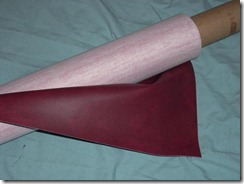
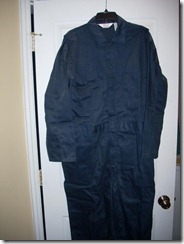
I have a fake brown leather material and buckles to make the actual straps on the boots and the same material will be used to make all the leather patches on the actual jump suit.

Subject Delta - Leather Trim        Subject Delta - Suit

Delta is truly now in the home stretch.  A few more minor pieces to build and some sewing are really all that remain.